How to Build a Shower Curb: A Step-by-Step Guide
Building a shower curb is an essential step in constructing a shower and ensuring proper water containment. This “how to build a shower curb” will provide you with clear, actionable steps to build a durable and effective shower curb. By following these simple instructions, you can create a proper base for your shower and take the necessary measures to prevent water damage and leaks.
Let’s explore the key components and steps required to build a shower curb that meets industry standards and provides a solid foundation for your shower installation.
Materials And Tools Needed
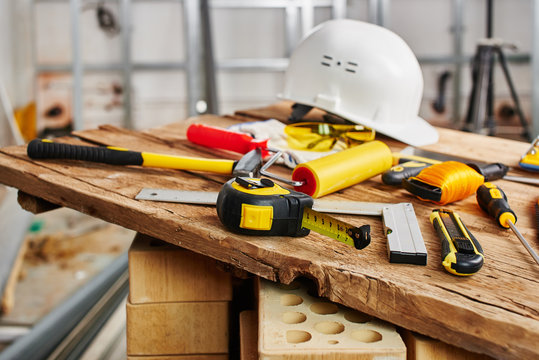
When building a shower curb, it’s essential to have the right materials and tools to ensure a sturdy and well-constructed curb. Here is a list of the necessary materials and tools needed to build a shower curb:
List Of Materials
- Cement mortar
- 2×4 lumber
- Waterproofing membrane
- Shower pan liner
- Thin-set mortar
- Shims
- Screws
- Grout
- Protective gloves
List Of Tools
- Trowel
- Level
- Measuring tape
- Saw
- Drill
- Hammer
- Utility knife
- Caulking gun
- Bucket
Preparing The Area
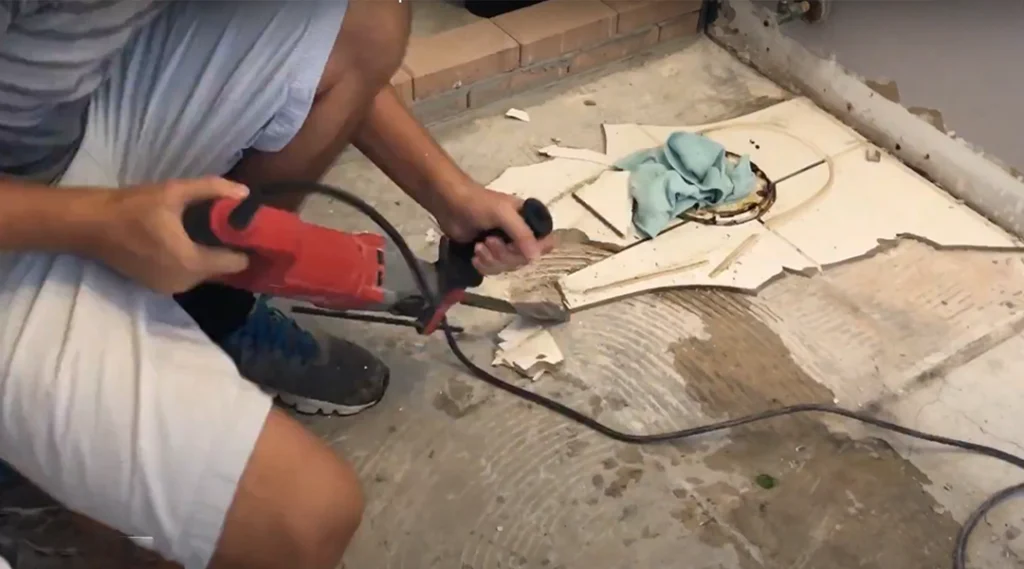
Clearing The Space
In preparation for building a shower curb, the first step is to thoroughly clear the area where the curb will be constructed. Remove any debris, old grout, or loose material from the location to ensure a clean and level surface for the new shower curb.
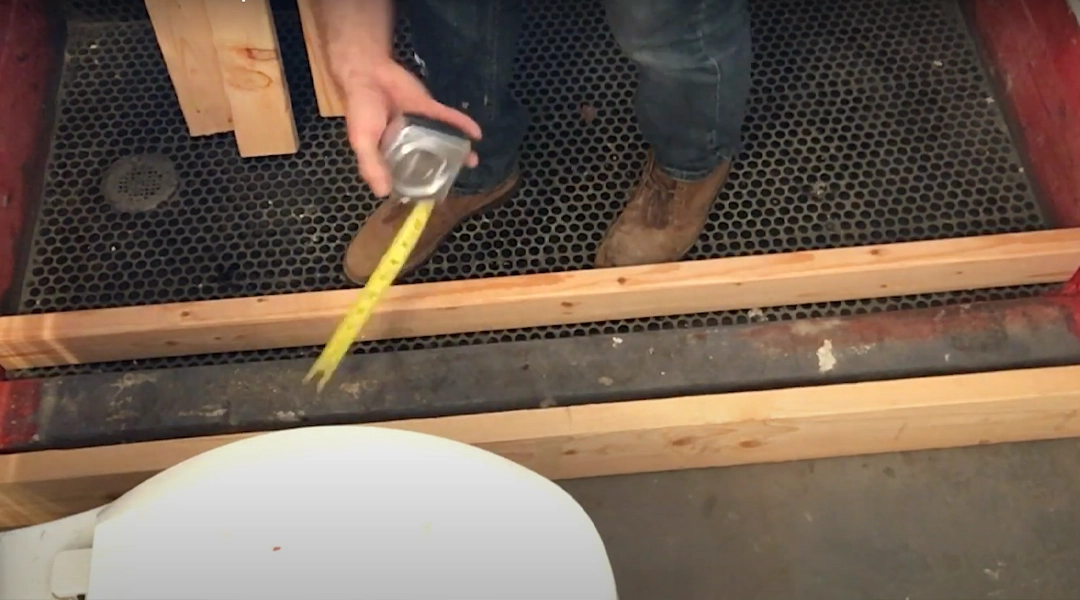
Measuring And Marking The Curb Location
Precise measurements are essential for creating a properly functioning shower curb. Using a tape measure, accurately measure and mark the location of the curb. Ensure that the measurements are consistent and aligned with the shower’s dimensions to prevent any future water leakage or structural issues.
Building The Shower Curb
Learn how to build a shower curb using cement mortar, the tried and true method for a sturdy and reliable curb. This step-by-step guide will help you create a custom shower curb that will withstand the test of time.
Laying The Foundation
When it comes to building a shower curb, the first step is to lay a solid foundation. This ensures that the curb will be stable and sturdy. To lay the foundation, you will need to prepare the subfloor by removing any debris and ensuring it is clean and level.
Here are the steps to lay the foundation:
- Measure and mark the desired width and height of the shower curb on the subfloor.
- Use a level and a straight edge to draw a straight line across the subfloor where the curb will be.
- Mix a batch of mortar according to the manufacturer’s instructions.
- Apply a layer of mortar along the drawn line, creating a solid base for the curb.
- Use a trowel to smooth out the mortar and ensure it is level.
Constructing The Curb Walls
Once the foundation is in place, the next step is to construct the curb walls. These walls will provide support and containment for the shower floor. Here’s how to build the curb walls:
- Measure and cut the cement backer board to the desired height of the curb walls.
- Apply a thin layer of mortar to the bottom edges of the backer board pieces, and press them firmly onto the mortar foundation.
- Secure the backer board pieces to the foundation using screws or nails.
- Apply a layer of mortar to the exposed edges of the backer board, smoothing it out evenly.
- Allow the mortar to dry and cure according to the manufacturer’s instructions.
Installing Waterproofing Membrane
After constructing the curb walls, it’s important to install a waterproofing membrane to prevent water damage. Here’s how to install the waterproofing membrane:
- Cut the waterproofing membrane to fit the dimensions of the shower curb walls.
- Apply a layer of adhesive to the backer board and press the membrane firmly onto it, ensuring full coverage.
- Smooth out any wrinkles or air bubbles in the membrane using a trowel or a roller.
- Allow the adhesive to dry completely before proceeding with the installation of the shower floor.
By following these steps and using the appropriate materials, you can build a solid and waterproof shower curb that will support your shower floor and prevent water damage. Remember to always follow the manufacturer’s instructions for the specific products you are using, and consult with a professional if you have any doubts or concerns.
Finishing And Sealing The Curb
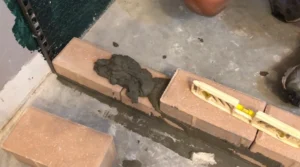
To finish and seal the curb of your shower, use cement mortar to ensure durability and water resistance. This is a necessary step even if you’re using cement backer board for the shower walls. Building a solid shower curb is essential for a successful shower installation.
Applying Mortar And Sealing The Curb
Building a shower curb involves several important steps, and one of the key stages is the finishing and sealing process. This step ensures that your shower curb is not only strong and durable but also properly sealed to prevent any water damage. To achieve this, you will need to follow the steps below:
-
Apply Mortar:
Start by preparing the mortar mixture according to the manufacturer’s instructions. Use a trowel to spread the mortar evenly along the top surface of the curb. Make sure to cover the entire area and create a smooth and even layer.
-
Seal the Curb:
Once the mortar is applied, it’s crucial to seal the shower curb to protect it from water penetration. One common method is to use a polyurethane sealant specifically designed for shower curbs. Apply the sealant using a caulking gun, making sure to cover all the edges and seams thoroughly.
By applying mortar and sealing the curb, you create a strong and watertight barrier that will prevent any moisture from seeping into your shower walls and base. This will ensure the longevity of your shower and prevent any potential damage.
Frequently Asked Questions On How To Build A Shower Curb
What Is The Best Material For A Shower Curb?
The best material for a shower curb is cement mortar, which is essential for building a durable and long-lasting shower curb.
How Many 2x4s Do I Need For A Shower Curb?
You will need 4 pieces of 2×4 for a standard shower curb.
How Thick Should A Shower Curb Be?
A shower curb should be around 2 to 4 inches thick.
What Is The Proper Slope For A Shower Curb?
The proper slope for a shower curb is typically recommended to be around 1/4 inch per foot, or a minimum of 2% slope. This helps to ensure that water drains properly and does not accumulate on the curb.
Conclusion
Building a shower curb is an essential step in creating a functional and waterproof shower. When it comes to choosing the best material for the curb, nothing beats using cement mortar. Whether you opt for the cement backer board method or any other shower wall option, cement mortar is necessary.
It provides durability and stability to the shower curb, ensuring it stands the test of time. So, don’t overlook the importance of a well-built shower curb when planning your next bathroom renovation.