How to Install Bathroom Sliding Door: A Step-by-Step Guide
Perhaps you are looking to update the look of your bathroom or maximize space, a sliding door can be a sleek and functional option. We will provide step-by-step instructions on how to install bathroom sliding door. Whether you are replacing an old door or installing a new one, these tips will help ensure a successful and efficient installation process.
So, if you’re ready to transform your bathroom with a sliding door, let’s get started.
Choosing The Right Bathroom Sliding Door

When it comes to installing a sliding door in your bathroom, selecting the right door is crucial. There are several considerations to keep in mind to ensure you choose the most suitable door for your space and preferences.
Consider The Space And Layout
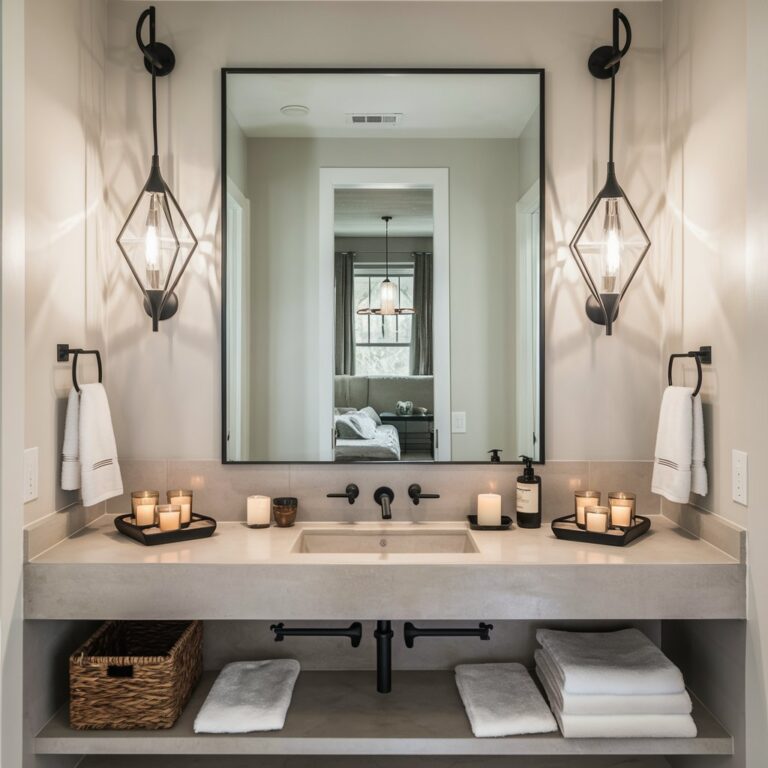
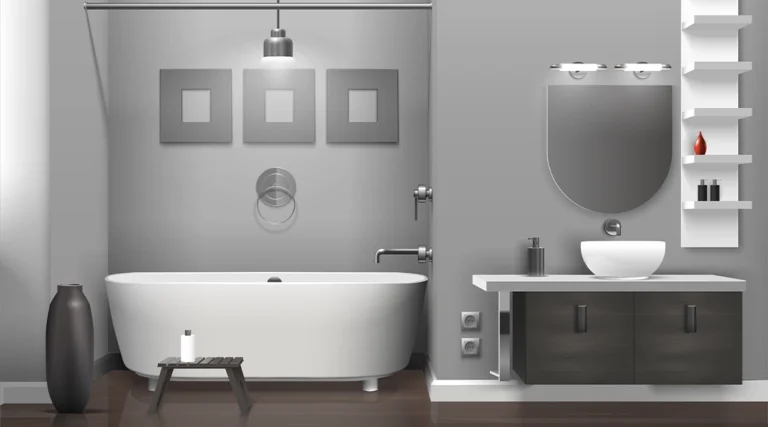
Before selecting a bathroom sliding door, it’s essential to assess the available space and the layout of your bathroom. Measure the dimensions of the area where the door will be installed to determine the appropriate size. Consider the clearance required for smooth sliding functionality and ensure that the chosen door complements the overall aesthetic of the bathroom.
Evaluate Different Materials And Styles
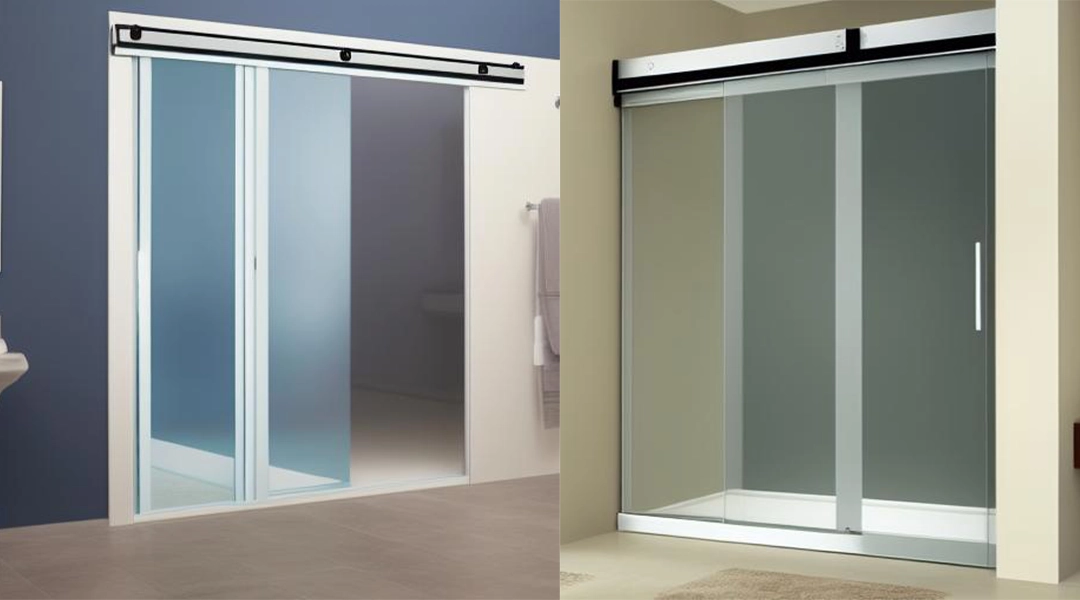
When it comes to bathroom sliding doors, there are various materials and styles available, each with its own set of advantages. Evaluate different materials such as glass, wood, or metal, and consider the maintenance requirements and durability of each option. Additionally, explore various styles, including framed, frameless, or semi-frameless designs, to find the one that best suits your preferences and complements the existing decor of your bathroom.
Preparing For Installation
Installing a bathroom sliding door requires careful preparation. Gather all the necessary tools and materials for the installation. Measure the space accurately, and ensure the area is clean and ready before starting the process. Following these steps will make the installation of the sliding door more efficient and successful.
Gathering Necessary Tools And Materials
Before you start installing a bathroom sliding door, it is important to gather all the necessary tools and materials. Having everything ready will save you time and ensure a smooth installation process. Here are the tools and materials you will need:
- Measuring tape
- Pencil or marker
- Level
- Screwdriver
- Drill
- Silicone caulk
- Aluminum shower door track
- Shower door handle
- Shower door clips
Make sure you have all these tools and materials handy before you begin the installation. Having everything at your fingertips will make the process much easier and more efficient.
Measuring The Shower Opening
To ensure the sliding door fits perfectly, it is crucial to measure the shower opening accurately. Follow these steps to measure the width of the shower opening:
- Using a measuring tape, measure the width of the shower opening from wall to wall.
- Take note of the measurement.
- Measure the height of the shower opening from the threshold to the top.
- Write down the height measurement.
- Using a level, check if the walls around the shower opening are plumb and level. If they are not, you may need to make adjustments.
Once you have measured the shower opening, you can proceed with the installation process confidently, knowing that your sliding door will fit perfectly.
Step-by-step Installation Process
To install a bathroom sliding door, start by measuring the opening width and ensuring it is plumb and level. Apply silicone caulk and cut the aluminum door track to fit. Install the handle system and adjust the door clips for a perfect fit.
This DIY project requires the right tools and good technique.
Cleaning And Preparing The Installation Area
Before starting the installation process for your bathroom sliding door, it is important to clean and prepare the installation area. Follow these steps to ensure a smooth and successful installation:
- Clear the area: Begin by removing any items or obstacles that may be in the way of the installation area. This includes towels, bath mats, and any other bathroom accessories.
- Clean the surface: Thoroughly clean the surface where the sliding door will be installed. Use a mild detergent and warm water to remove any dirt, grime, or residue. Ensure that the surface is dry before proceeding.
- Measure the area: Take accurate measurements of the installation area to determine the size of the sliding door that you will need. Measure the width and height, and make note of these measurements for later reference.
- Protect the surrounding area: Use painter’s tape to protect the surrounding walls, tiles, and other surfaces from any damage that may occur during the installation process.
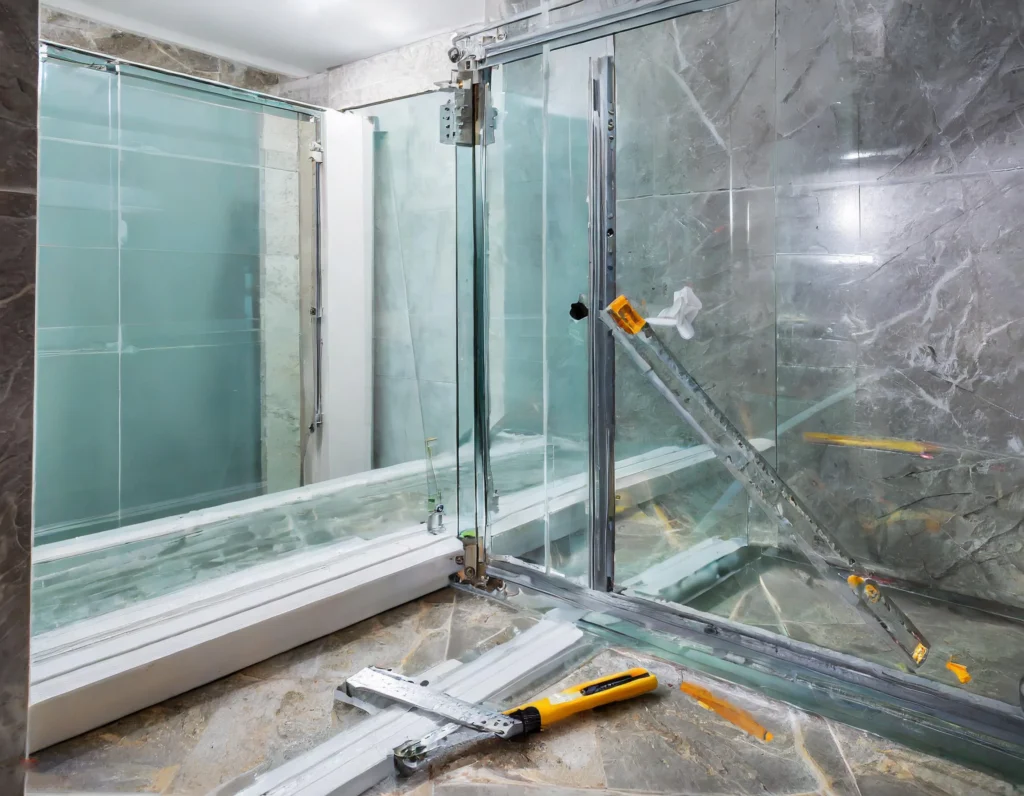
Assembling And Installing The Sliding Door Components
Once the installation area is clean and prepared, you can start assembling and installing the sliding door components. Follow these step-by-step instructions:
- Prepare the door panels: If your sliding door comes in separate panels, assemble them according to the manufacturer’s instructions. Make sure that each panel is securely attached and aligned correctly.
- Install the track: Begin by installing the track onto the top of the opening. Use a level to ensure that the track is straight and level. Secure it in place using screws or adhesive as recommended by the manufacturer.
- Attach the rollers: Attach the rollers to the bottom of the door panels. Slide the panels into the track, making sure that they glide smoothly. Adjust the rollers if necessary to ensure proper alignment.
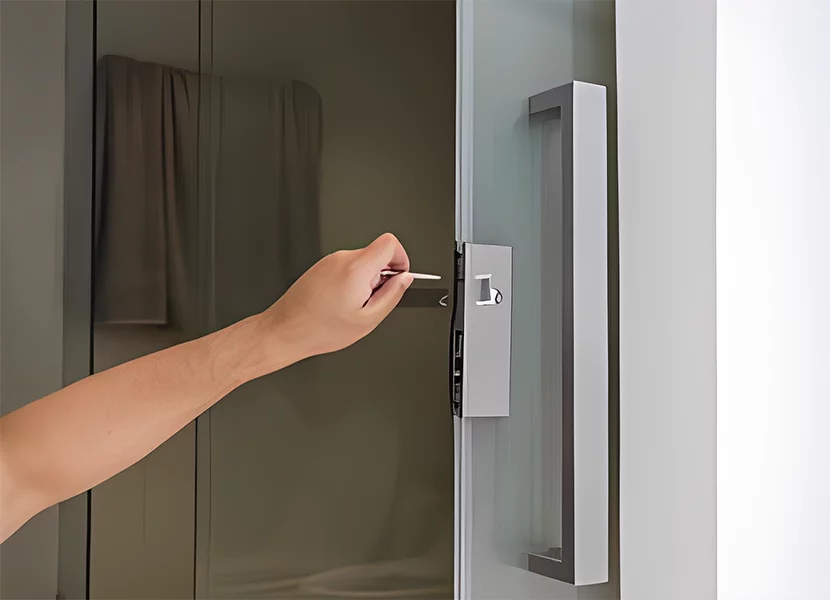
- Install the handles and accessories: Install the handles and any additional accessories as specified by the manufacturer. Make sure that they are securely attached and functioning correctly.
- Test the sliding door: Once the installation is complete, test the sliding door to ensure that it opens and closes smoothly without any obstructions.
- Clean up and finalize: Remove any protective tape and clean up the installation area. Inspect the sliding door for any final adjustments or touch-ups that may be needed.
By following these step-by-step instructions, you can easily install a bathroom sliding door and enhance the functionality and aesthetics of your space.
Adjusting And Securing The Sliding Door
Learn the step-by-step process of installing a bathroom sliding door, including adjusting and securing it properly. With the right tools and materials, you can complete the installation in a day, making it a convenient and space-saving solution for your bathroom.
Ensuring Proper Alignment And Leveling
To ensure your sliding bathroom door operates smoothly, it is crucial to ensure proper alignment and leveling. Here are the steps to follow:
1. Start by measuring the width of the shower opening. Use a tape measure to take accurate measurements.
2. Next, measure and mark the location for the sliding door track. Use a pencil or a marker to make clear marks on the wall or the shower frame.
3. Before securing the track, check for plumb and level. Use a level tool to make sure the track is straight and level. Make any necessary adjustments by loosening or tightening the screws.
4. Apply silicone caulk to the bottom of the track before securing it to the shower frame. This helps create a watertight seal and prevents any water from leaking underneath the track.
5. Once the track is securely in place, you can proceed to install the actual sliding door panels. Make sure to follow the manufacturer’s instructions and use the provided hardware.
Using Silicone Caulk And Adjusting Door Clips
To further secure the sliding door, you can use silicone caulk and adjust the door clips. Here’s how:
1. Apply silicone caulk along the edges of the sliding door panels where they meet the shower frame. This creates a tight seal and prevents water from seeping through.
2. Allow the silicone caulk to dry according to the manufacturer’s instructions before testing the functionality of the sliding door.
3. If the sliding door is not sliding smoothly or is misaligned, you may need to adjust the door clips. Door clips are usually located at the top or bottom of the door panels.
4. Loosen the screws on the door clips and adjust them to align the door panels properly. Tighten the screws once the desired alignment is achieved.
5. Test the sliding door by opening and closing it multiple times to ensure it moves smoothly along the track without any hitches.
By following these steps and ensuring proper alignment, leveling, and securing, you can successfully install a bathroom sliding door that functions flawlessly and enhances the overall aesthetics of your bathroom. Remember to refer to the manufacturer’s instructions and use the appropriate tools for the installation process.
Tips For Maintaining And Troubleshooting
Once you have successfully installed your bathroom sliding door, it is important to know how to properly maintain it and troubleshoot any common issues that may arise. By following these tips, you can keep your sliding door in optimal condition and ensure smooth operation for years to come.
Cleaning And Maintaining The Sliding Door
Maintaining a clean sliding door not only enhances its appearance but also promotes its longevity. Here are some cleaning and maintenance tips to keep your bathroom sliding door looking and functioning its best:
- Frequent Cleaning: Regularly clean your sliding door using a mild soap solution and a soft cloth or sponge. Avoid abrasive cleaners and brushes that may scratch the surface.
- Track Maintenance: Check the sliding door track for any debris or dirt buildup. Remove any obstructions and wipe the track clean. If necessary, use a silicone-based lubricant to ensure smooth sliding motion.
- Glass Cleaning: Use a glass cleaner and a lint-free cloth to clean the glass panels of your sliding door. Avoid harsh chemicals that may damage the glass or surrounding materials.
- Hardware Inspection: Periodically inspect the hardware components of your sliding door, such as handles, rollers, and hinges. Tighten any loose screws and replace any damaged or worn-out parts.
- Sealant Maintenance: Check the sealant around the edges of the sliding door for any cracks or gaps. Reapply a silicone sealant if necessary to prevent water leakage.
Troubleshooting Common Issues
Even with proper maintenance, you may encounter certain issues with your bathroom sliding door. Here are some common problems and their troubleshooting solutions:
| Issue | Troubleshooting Solution |
|---|---|
| The sliding door sticks or jams | Check the track for any debris or obstruction. Clean the track and apply a lubricant if necessary. Adjust the rollers or hinges if needed. |
| The sliding door does not close properly | Inspect the alignment of the door panels. Adjust the rollers or hinges to ensure proper alignment. Tighten any loose screws. |
| The door handle or lock is loose | Tighten the screws of the handle or lock. If the screws are stripped, replace them with new ones. |
| The glass panels are scratched | Use a glass polishing kit to remove minor scratches. For deep scratches, consult a professional for repairs or glass replacement. |
| The door makes squeaking or grinding noises | Apply a silicone-based lubricant to the rollers, hinges, and other moving parts. If the noise persists, contact a professional for inspection. |
Frequently Asked Questions On How To Install Bathroom Sliding Door
Can I Install A Sliding Door Myself?
Yes, you can install a sliding door yourself if you have the necessary tools and materials. It is a fairly simple and straightforward project that can be completed in a day. Just make sure to follow the proper instructions and take necessary safety precautions.
What Are The Pros And Cons Of Sliding Doors For Bathrooms?
Sliding doors for bathrooms have several advantages: they save space and don’t require clearance, can be customized, and offer different glass and hardware options. However, they must be semi-frameless or framed, which is not as popular as frameless designs.
Which Side Should A Sliding Door Be In On A Shower?
The sliding panel of a shower door can be positioned on either side, but it is recommended to have it on the same side as the shower head. This helps to prevent water from leaking between the doors.
Can I Install A Shower Door Myself?
Yes, you can install a shower door yourself with the right tools and techniques. It’s a DIY project.
Conclusion
Installing a bathroom sliding door is a doable project that can transform the functionality and aesthetics of your space. With the right tools and materials, you can easily complete the installation in a day. Sliding doors offer the advantage of saving space and can be customized to fit your style preferences.
Whether you choose semi-frameless or frameless designs, sliding doors are a practical and stylish addition to any bathroom. So why wait? Get started on your bathroom sliding door installation today and enjoy the convenience and beauty it brings to your space.