How to Install Bathtub Door: Simple Step-by-Step Guide
To install a bathtub door, start by measuring your tub’s opening to select the appropriate door size. Then, install the frame, ensuring it is level, before hanging the door.
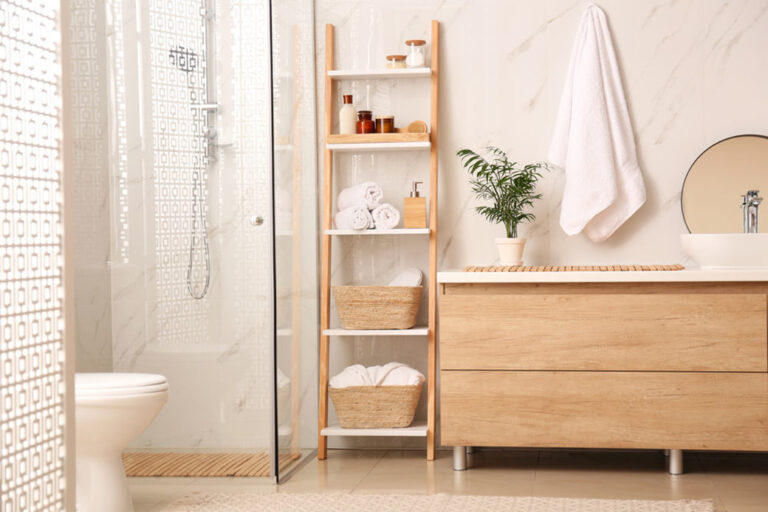
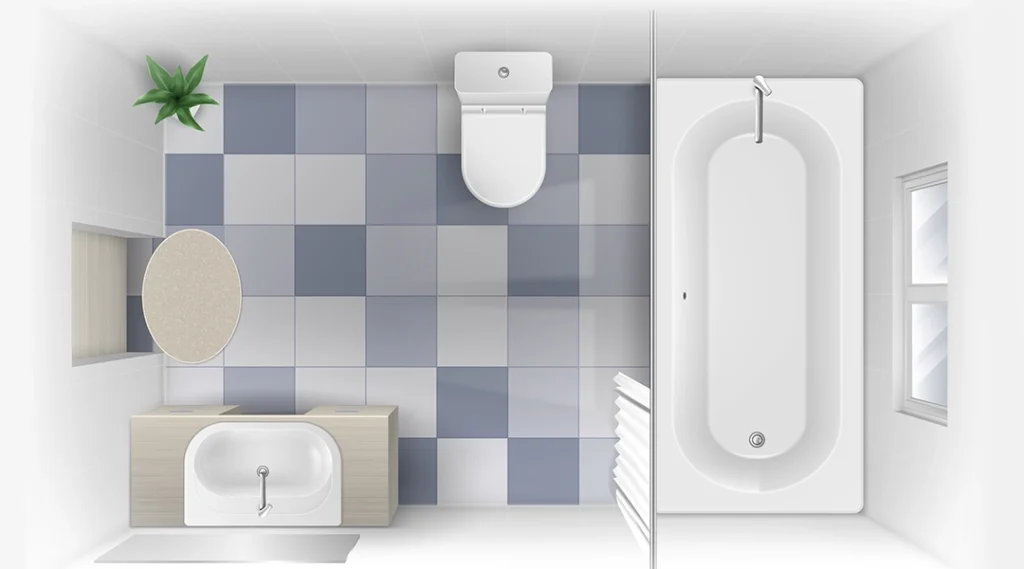
Installing a bathtub door can transform your bathroom, enhancing both functionality and aesthetics. Perfect for those seeking to upgrade their space or complete a bathroom renovation, fitting a door to your bathtub requires precision and a bit of know-how. The process usually involves preparing the area, securing the tracks, and ensuring waterproof seals.
It’s imperative that homeowners select a door that not only fits their tub’s dimensions but also complements the bathroom’s design. With the right tools and a clear set of instructions, even a novice DIY enthusiast can tackle this project. Whether you choose a sliding door, a swing door, or a more unique style, the addition of a bathtub door is sure to contribute to a clean, sleek bathroom look while helping to prevent water from escaping during showers.
Process on How to Install Bathtub Door
Bathtub doors enhance bathroom safety and style. Unlike shower curtains, doors provide a firm barrier. This reduces water spillage and adds a sleek look. Installing a bathtub door transforms your space and shower experience.
Importance Of A Properly Installed Bathtub Door
A bathtub door must fit snugly to prevent leaks. Correct installation ensures functionality and longevity. Doors that are not properly installed can lead to water damage, which may be costly to repair. Stability and safety are also crucial. A well-installed door protects users from accidents.
Tools And Materials Needed For The Installation
- Measuring tape for the right fit
- Level to ensure balance
- Drill for securing components
- Screwdriver for fasteners
- Silicone caulk to seal edges
- Hacksaw for metal tracks
- Files to smooth rough edges
- Gloves for protection
- Glass cleaner to maintain clarity
- Manufacturer’s manual for instructions
Measuring And Preparing The Door Space
If you’re ready to enhance your bathroom with a new bathtub door, the first crucial step is measuring and preparing the space. Proper measurements ensure a perfect fit and a well-prepared area simplifies installation. Let’s walk through how to measure your space accurately and get everything ready for your new bathtub door.
Determining The Right Bathroom Door Size
Following these steps will help you find the right size for your bathtub door:
- Measure the width at the top, middle, and bottom of the tub’s edge.
- Record the smallest measurement. This is your size to find a door.
- Check for evenness. If walls are uneven, a door with adjustment options is best.
Preparing The Bathtub And Walls Before Installation
Clean the bathtub and walls before installing the door to avoid any damages:
- Clear any debris and clean the area around your tub.
- Remove old caulk with a putty knife for a clean surface.
- Ensure walls are dry and stable for the door’s weight.
- Check for plumbing fixtures that might interfere with the door.
Choosing The Right Bathtub Door for Your Bathroom
Choosing the right bathtub door can be tricky. A perfect blend of style, functionality, and compatibility with your space, the bathtub door is key to a finished look. Let’s dive into the details to ensure your selection process is a splashing success!
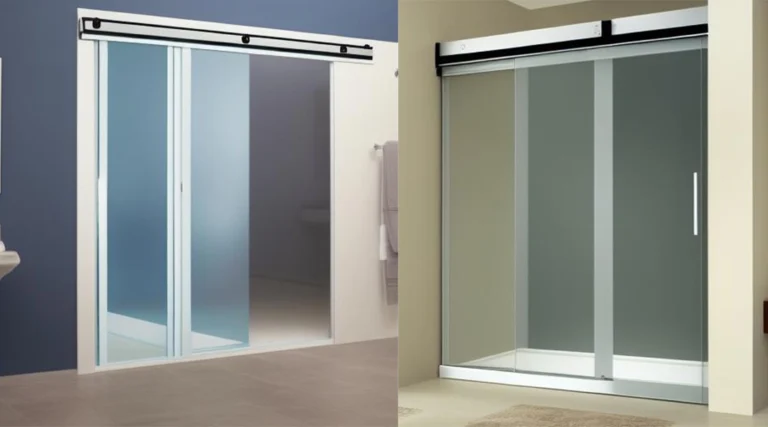
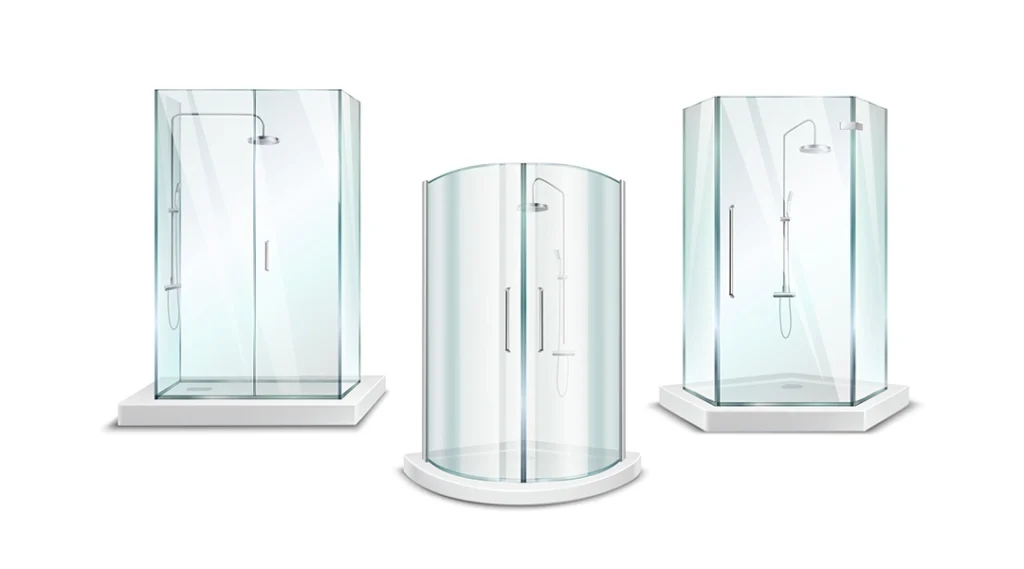
Types Of Bathtub Doors
There are a plenty of bathtub door style available in the market. Chose the right one which match your bathroom.
- Sliding doors: Ideal for compact spaces, gliding smoothly sideways.
- Pivot doors: Swinging open like a traditional door, for wider spaces.
- Bi-fold doors: Fold inward, saving space while offering elegant functionality.
- Frameless doors: Provide a sleek, modern look for an airy feel in your bathroom.
- Framed doors: Include a frame for added structure and traditional style.
Factors To Consider When Selecting The Door
Selecting the right door means weighing several factors. This table might help you to decide:
| Factor | Description |
|---|---|
| Size of your bathtub area | Measure space to ensure the door fits perfectly. |
| Style of your bathroom | Choose a door that enhances your bathroom’s design. |
| Type of glass | Options include clear, frosted, or patterned for privacy and style. |
| Opening mechanism | Consider ease of access and space requirements. |
| Frame material | Choose from aluminum, chrome, or other durable materials. |
The Installation Process of Bathtub Door
Embarking on the installation of a bathtub door transforms a bathroom’s visual appeal and functionality. The journey begins by demystifying the process, breaking it down into manageable steps.
Securing The Track
First things first: the track is the foundation holding everything in place. Treating this part of the installation with precision is crucial. Here’s how to get it right:
- Measure twice, install once. Ensure the track’s length matches your tub’s edge.
- Place the track directly onto the tub’s rim, centering it for an equal distribution.
- Mark the spots where drilling is required for the securing screws.
- With a drill, create holes, and then firmly affix the track using the provided screws.
Setting The Panels
With the track in place, setting the panels is the next step.
- Begin by lifting the first panel into the top track.
- Tilt the bottom towards the tub, gently lowering it into position.
- Ensure level alignment for smooth sliding motion.
- Repeat the process for any subsequent panels.
Handling The Waterproof Sealing
A crucial element in the installation is waterproof sealing. This prevents water from leaking and causing damage.
- Apply silicone sealant along the track’s edges, where it meets the tub.
- Be thorough, but avoid excess. Messy applications compromise the look.
- Allow the sealant to dry completely before proceeding.
Final Adjustments And Testing
The last touches fine-tune the door’s performance.
- Check that all parts are tight and secure.
- Adjust the roller mechanisms for smooth gliding.
- Inspect seals and closures to ensure they’re functioning effectively.
- Test the door by opening and closing several times.
Finishing Touches
The final stage in installing your bathtub door is crucial for aesthetics and functionality. It’s time to give your bathroom a clean, polished look. Proper finishing touches ensure lasting performance and maintain the new look of your bathtub door. These steps will seal the deal on your DIY project.
Applying Caulk For A Waterproof Seal
A tight seal keeps water in and prevents damage. Caulk creates this essential waterproof barrier. Here’s how to apply it:
- Select a high-quality silicone caulk that is mold and mildew-resistant for bathrooms.
- Cut the caulk tube’s tip at a 45-degree angle. This makes for an easier application.
- Run a bead of caulk around the entire edge where the door meets the bathtub.
- Smooth the caulk with a damp finger or tool. This gives a professional finish.
- Let it dry for the time the manufacturer recommends. Avoid using the tub during this period.
Cleaning Up And Maintenance Tips
Keeping your bathtub door pristine extends its life. Follow these simple steps:
- Wipe down the door after each use. Use a squeegee or soft cloth.
- Clean the glass with soap and water or a mild glass cleaner. Do this weekly.
- Inspect seals and hardware every few months. Tighten or replace as needed.
- Avoid harsh chemicals that can damage the door’s finish.
- Lubricate moving parts with silicone lubricant. Do this twice a year.
Troubleshooting Common Issues
Troubleshooting common issues during bathtub door installation can save both time and frustration. Ensuring a proper fit and a watertight seal is crucial. Common concerns include door misalignment and leakage. Handling these problems early helps maintain the door’s functionality and appearance. Let’s address these challenges with practical solutions that ensure smooth operation.
Addressing Door Misalignment
Door misalignment can lead to improper functionality and a lackluster appearance. It’s crucial to identify and correct misalignments during the installation process. The following steps can help:
- Check the level and plumb of your bathtub walls with a spirit level. Ensure the surfaces where the tracks will go are even.
- Adjust the track position as needed before securing it. This may involve shimming the tracks or repositioning them entirely.
- Tighten or loosen the screws on the door hardware. This can help align the door correctly within the frame.
- Examine the door rollers. Misaligned or poorly installed rollers can prevent smooth operation. Adjust them according to the manufacturer’s guidelines.
Dealing With Leakage Problems
Preventing water from escaping the tub is a key function of a bathtub door. Follow these steps if leaks occur:
- Inspect the door seals and ensure they are intact and properly attached to the door and adjacent walls.
- Check the door sweep, which is the seal along the bottom of the door. Replace it if it’s worn or not providing a tight seal.
- Apply silicone caulk to any gaps between the door frame and the wall or tub surface. Be sure to select a mold-resistant product for wet environments.
- Adjust the door’s threshold, if possible, to ensure it directs water back into the tub and away from the edges.
By following these straightforward steps, most issues with bathtub door installation can be successfully resolved. Regular maintenance will preserve the integrity and aesthetics of your bathroom.
Safety And Best Practices
Installing a bathtub door requires precision, patience, and adherence to safety guidelines. Best practices not only ensure a smooth installation process but also guarantee that the fixture remains safe and functional for years to come. Whether you’re a DIY enthusiast or a professional, it’s vital to take proper precautions. Here are practical steps to equip yourself with the necessary information for a successful installation.
Personal Protective Equipment Usage
Working with glass and tools can sometimes lead to accidents. To mitigate these risks:
- Wear safety goggles to protect your eyes from shards.
- Gloves will guard your hands against cuts.
- Steel-toe boots are ideal in case you drop tools or hardware.
- A hard hat might seem excessive, but it’s crucial if you’re working in conditions where objects may fall.
Guidelines To Ensure Longevity Of The Bathtub Door
For the bathtub door to last long, follow these steps:
| Step | Instruction |
|---|---|
| 1 | Check the alignment of the door post-installation. |
| 2 | Use appropriate tools for adjustments. |
| 3 | Apply sealant properly to prevent water damage. |
| 4 | Follow the manufacturer’s instructions on care and maintenance. |
| 5 | Regularly inspect the door’s hardware for stability and rust. |
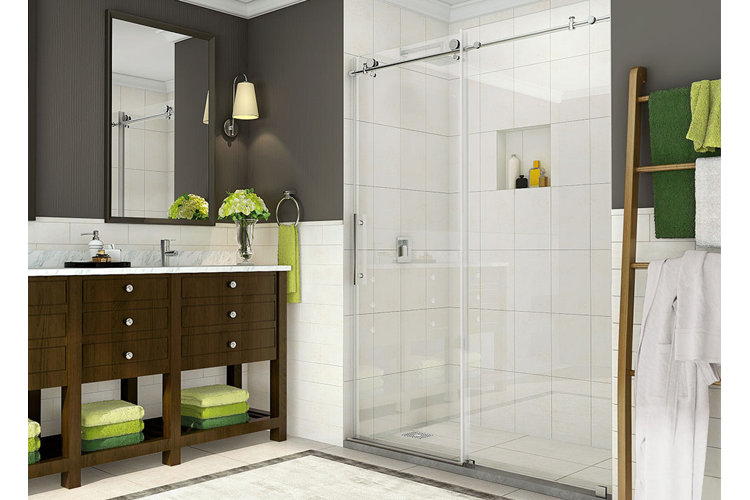
Credit: www.wayfair.com
Frequently Asked Questions For How To Install Bathtub Door
1. Can You Install A Door On A Bathtub?
Yes, you can install a door on a bathtub, typically involving a conversion kit for easier access, which professionals can safely install.
2. How Long Does It Take To Install Bathtub Doors?
Installing bathtub doors typically takes 2 to 4 hours. It depends on the project’s complexity and the installer’s skill level.
3. Can You Cut A Door Into An Existing Bathtub?
Yes, you can cut a door into an existing bathtub. This modification is typically part of a bathtub-to-walk-in-shower conversion and should be done by professionals to ensure safety and waterproofing.
4. Can You Install Shower Doors Yourself?
Yes, you can install shower doors yourself with proper tools, clear instructions, and attention to detail. Ensure you measure accurately and follow safety precautions during installation.
Conclusion
Wrapping up your bathtub door installation can transform your bathroom’s appeal and functionality. With the right tools and guidance, this DIY project on how to install bathtub door is definitely manageable. Remember, taking precise measurements and following the manufacturer’s instructions are key to a sleek finish.