How to Achieve Stunning Tray Ceiling Paint Transformations in Your Bedroom
Embarking on the journey of painting a tray ceiling in your bedroom? The key lies in meticulous preparation – clean, prime, and paint with precision using our step-by-step guide on how to paint a tray ceiling in a bedroom. Safeguard adjacent surfaces with painter’s tape for a flawless finish that elevates your bedroom aesthetic.
Tray ceilings can add a touch of elegance and dimension to any bedroom. If you’re looking to freshen up your bedroom’s tray ceiling with a new coat of paint, it’s important to follow the proper steps for a flawless finish.
By taking the time to prep the surface, apply primer, and use the right tools, you can achieve a professional-looking result. We’ll provide you with a step-by-step guide on how to effectively paint a tray ceiling in a bedroom, so you can transform your space and create a visually appealing focal point. So, let’s dive in and explore the process of giving your tray ceiling a fresh, new look!
Choosing The Right Colors
Selecting the right colors for painting a tray ceiling in a bedroom is crucial to create the desired atmosphere. Consider using lighter colors to make the ceiling appear higher and darker colors for a cozier feel. A color that complements the bedroom’s overall color scheme will enhance the room’s aesthetics.
Considering The Room’s Mood
Before diving into the exciting world of choosing colors for your tray ceiling, it’s important to consider the mood you want to create in your bedroom. The color palette you select can have a significant impact on the overall atmosphere of the space.
Are you aiming for a serene and calming environment where you can relax after a long day, or do you prefer a vibrant and energetic ambiance that will invigorate your senses? Determining the desired mood will help you narrow down your options and make informed decisions when selecting the right colors for your tray ceiling.
Creating Visual Interest
Once you have a clear understanding of the mood you want to convey, it’s time to get creative and think about how to create visual interest with your tray ceiling. This architectural feature provides a great opportunity to add depth, dimension, and drama to your bedroom.
Bold and contrasting colors can help the tray ceiling stand out as a focal point. If your bedroom has a more subdued color scheme, consider selecting colors that are a shade or two darker than the walls. This will add visual interest without overwhelming the space.
Another way to create visual interest is by using different paint finishes. Consider adding a metallic or pearl finish to the tray ceiling to add a touch of sophistication and glamour to your bedroom.
Remember, the goal is to complement the overall design of your bedroom while making the tray ceiling a standout feature.
Preparation Techniques
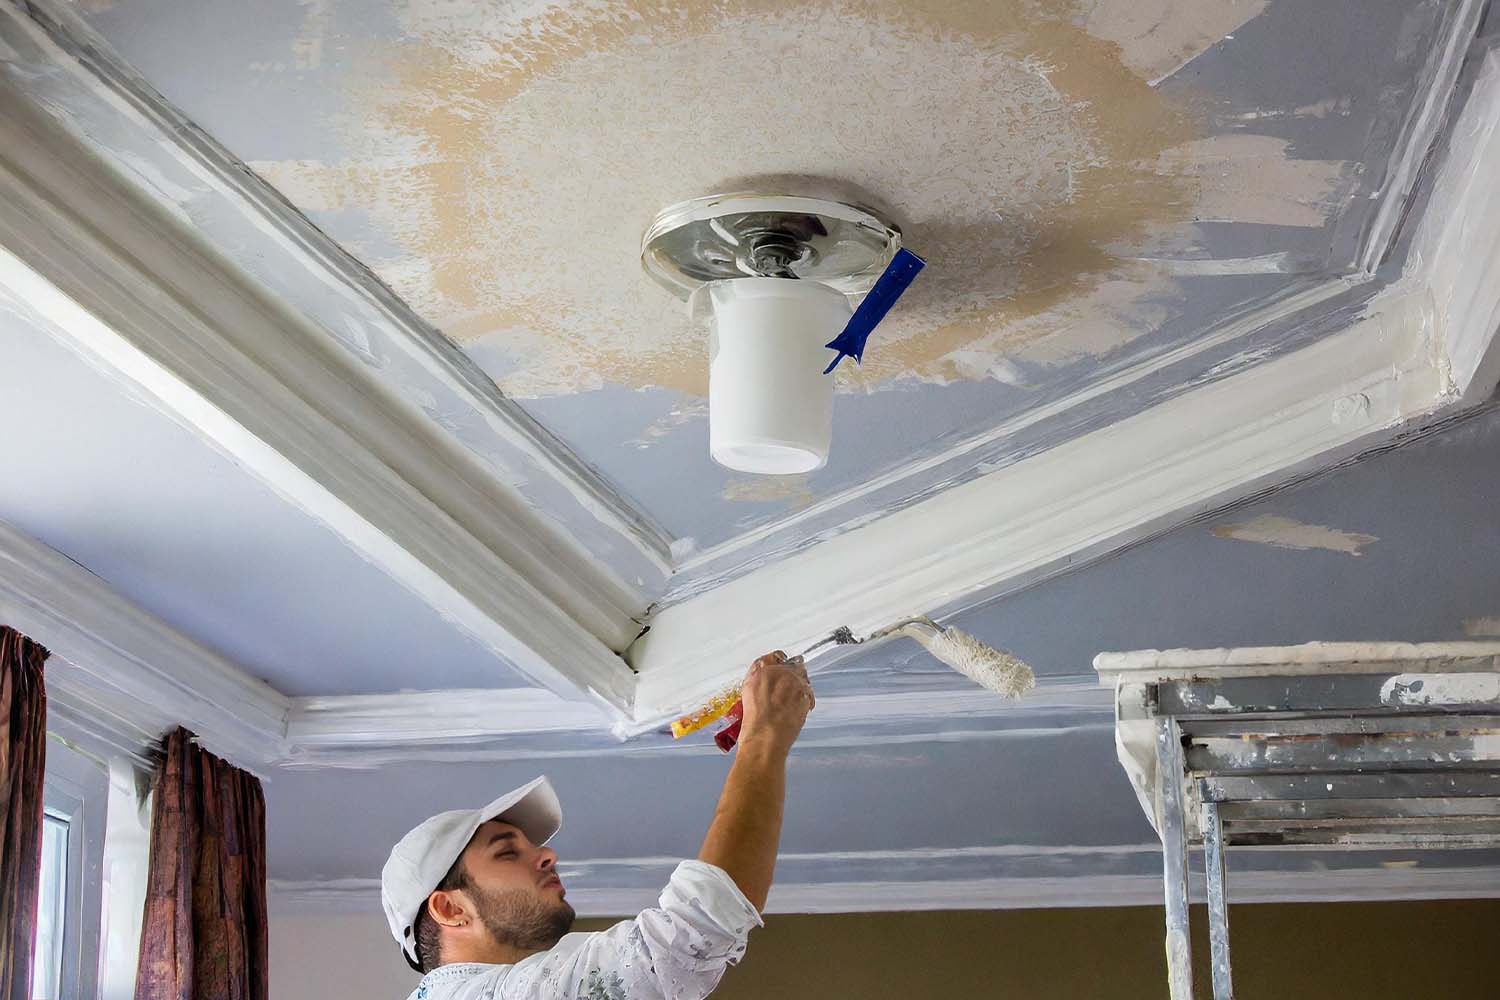
Before you start painting your tray ceiling in the bedroom, it’s crucial to prepare the surface properly for the best results. By following these preparation techniques, you can ensure a smooth and long-lasting paint job. In this section, we will discuss two essential steps: Surface Cleaning and Repair, and Priming the Ceiling.
Surface Cleaning And Repair
Prior to painting, it is essential to clean the surface of your tray ceiling thoroughly. This ensures that the paint adheres properly and gives a flawless finish. Here’s a step-by-step guide to surface cleaning:
- Begin by removing any furniture, fixtures, or decorations from the room. Cover the floor and any remaining items with drop cloths to protect them from dust and paint splatters.
- Use a long-handled broom or a vacuum cleaner with a brush attachment to remove dust and cobwebs from the ceiling. Pay close attention to the corners and edges of the tray ceiling.
- Next, prepare a solution of warm water and mild detergent in a bucket. Use a sponge or a soft cloth dampened with the solution to wipe down the surface of the ceiling. This will remove any dirt, grease, or stains.
- Rinse the ceiling with clean water to remove any soap residue. Allow it to dry completely before proceeding to the next step.
- If there are any cracks, holes, or dents in the ceiling, it is important to repair them before painting. Use a spackling compound or a lightweight filler to fill in the imperfections. Scrape off any excess filler to achieve a smooth surface.
Priming The Ceiling
Priming the surface before painting is crucial for several reasons. It helps to seal the surface, provides a consistent base color, and improves the adhesion of the paint. Here’s how to prime your tray ceiling:
- Choose a high-quality primer suitable for the type of ceiling material you have. Consult with a paint specialist or refer to the manufacturer’s instructions for the best primer selection.
- Using a paint roller with an extension pole, apply the primer evenly across the entire surface of the tray ceiling. Be sure to cover all areas, including the corners and edges.
- Allow the primer to dry completely as per the manufacturer’s instructions. This can typically take a few hours or overnight.
- Inspect the primed surface for any missed spots or uneven coverage. If necessary, apply a second coat of primer to ensure a solid foundation for the paint.
- After the final coat of primer has dried, your tray ceiling is now ready for the exciting part – painting!
By following these preparation techniques, you can ensure that your tray ceiling is clean, repaired, and adequately primed, setting the stage for a successful painting project. With a well-prepared surface, you can achieve a professional-looking finish that adds beauty and dimension to your bedroom.
Applying The Paint
When it comes to painting a tray ceiling in a bedroom, applying the paint is a crucial step that can significantly impact the overall look and feel of the space. Achieving a professional finish requires attention to detail and the use of proper techniques and tools. Here’s how you can ensure a stunning result when painting your tray ceiling.
Using The Right Tools
Before you start painting, it’s essential to gather the necessary tools to ensure a smooth and efficient process. Quality paintbrushes and a high-quality roller are essential for achieving an even coat of paint on the angled surfaces of a tray ceiling. Additionally, using an extension pole can make it easier to reach higher areas without straining yourself. Investing in painter’s tape to protect adjacent surfaces and drop cloths to cover the floor and furniture will also help to keep the workspace clean.
Techniques For A Professional Finish
When it comes to actually applying the paint, it’s important to start with a quality primer to ensure the paint adheres evenly to the surface. Begin by cutting in along the edges of the ceiling using a paintbrush, and then use a roller to fill in the rest. Be sure to work in small sections to avoid overlap lines and maintain a wet edge for a seamless finish. Applying two coats of paint will typically be necessary to achieve full coverage and a flawless result.
Adding Decorative Elements
When it comes to painting a tray ceiling in a bedroom, adding decorative elements can elevate the overall look and feel of the space. Incorporating accent colors and utilizing faux finishes are just a few ways to bring depth and creativity to your tray ceiling design.
Incorporating Accent Colors
One effective way to enhance the visual appeal of your tray ceiling is by incorporating accent colors. Consider choosing a color that complements the existing color scheme of your bedroom. To create a cohesive and balanced design, opt for bold accent colors that can make a statement without overpowering the room.
For example:
| Color Scheme | Accent Color |
|---|---|
| Neutral tones (such as beige or gray) | Rich deep blue |
| Warm tones (such as peach or tan) | Elegant emerald green |
| Cool tones (such as light blue or lavender) | Dramatic purple or plum |
By incorporating an accent color that harmonizes with the existing color scheme, you can create a visually appealing tray ceiling that commands attention.
Utilizing Faux Finishes
If you’re looking to add texture and depth to your tray ceiling, utilizing faux finishes is an excellent option. Faux finishes can give your tray ceiling the appearance of expensive materials, such as marble or wood, without the cost or hassle of installation.
Some popular faux finishes for tray ceilings include:
- Marble effect: Achieve the luxurious look of marble by using paint and glaze techniques to create realistic veining patterns.
- Wood grain effect: Replicate the warmth and beauty of wood with special painting techniques that mimic the natural grain.
- Cloud effect: Create a dreamy and ethereal look by painting the surface in soft, billowy clouds.
Utilizing faux finishes not only adds visual interest to your tray ceiling but also allows you to customize the style and ambiance of your bedroom. Don’t be afraid to get creative and experiment with different finishes to find the perfect one for your space.
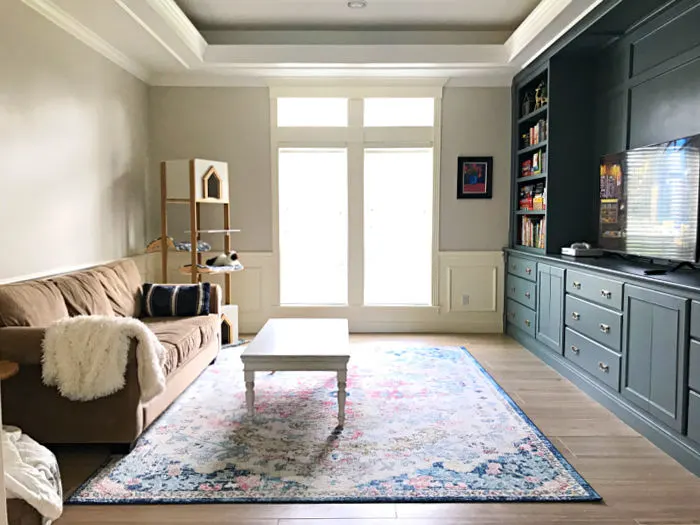
Maintenance And Care
Transform your bedroom with a beautifully painted tray ceiling. Discover the step-by-step process to effectively paint your tray ceiling for a fresh and stylish look.
: Protecting The Finished Ceiling
To maintain and care for your newly painted tray ceiling, it’s important to take measures to protect its finish. One way to do this is by using a drop cloth or plastic sheeting to cover the entire floor area around the ceiling. This will prevent any paint splatters or accidental drips from damaging your flooring or furniture. Additionally, you can use painter’s tape to mask off the edges of the ceiling, ensuring clean lines and preventing paint from bleeding onto the walls. This simple step will save you time and effort during the touch-up process. Remember, prevention is key to maintaining the beauty of your tray ceiling.
: Touch-up Tips
Even with careful maintenance, there may come a time when your tray ceiling needs a touch-up. Here are some helpful tips to ensure a seamless repair:
1. Identify the paint color and finish: Before starting the touch-up process, make sure you know the exact color and finish of the paint you used on the ceiling. This will ensure a perfect match and blend with the existing paint.
2. Gather the necessary supplies: Prepare a small amount of the paint you used for the ceiling, along with a paintbrush or roller specifically designed for touch-ups. Having these supplies readily available will make the process quick and easy.
3. Blend the touch-up paint: To achieve a seamless touch-up, it’s crucial to blend the new paint with the surrounding area. Start by gently stirring the touch-up paint to ensure it is well-mixed. Then, using a small brush or roller, carefully apply the paint to the damaged section, feathering the edges to blend it with the rest of the ceiling.
4. Allow sufficient drying time: After applying the touch-up paint, give it ample time to dry completely. This will prevent any noticeable variations in texture or sheen once the paint has fully cured. Be patient and avoid touching the freshly painted area until it is fully dried.
By following these touch-up tips, you can easily maintain the flawless appearance of your tray ceiling and keep it looking as good as new. Remember, a well-maintained ceiling enhances the overall aesthetic and ambiance of your bedroom.
Frequently Asked Questions Of How To Paint A Tray Ceiling In A Bedroom
How Do You Prepare A Tray Ceiling For Painting?
To prepare a tray ceiling for painting, start by cleaning it thoroughly to remove any dust or dirt. Repair any cracks or holes with a patching compound, then sand the surface to create a smooth finish. Apply a primer to ensure good paint adhesion, and finally, apply your chosen paint color using a roller or brush.
What Type Of Paint Should I Use For A Tray Ceiling?
For a tray ceiling, it’s best to use a high-quality interior paint that has a flat or matte finish. This type of paint will help to minimize any glare or reflections on the ceiling and create a smooth, even appearance.
Satin or eggshell finishes can also work well if you prefer a slight sheen.
Can I Paint A Tray Ceiling The Same Color As The Walls?
Yes, painting a tray ceiling the same color as the walls can create a cohesive and visually pleasing look in a bedroom. This technique can make the room feel larger and more open, as well as draw attention to the architectural features of the ceiling.
However, you can also choose a contrasting color to make the tray ceiling stand out as a focal point.
Conclusion
In crafting a beautiful and inviting bedroom, painting the tray ceiling can add a touch of elegance and sophistication. With the right tools and techniques, you can transform the look and feel of your space. By following the step-by-step instructions provided in this blog post, you can achieve professional-looking results and create a space that you’ll love spending time in.
So, roll up your sleeves, pick your favorite paint color, and get ready to transform your bedroom!